Some procedures used in the restoration project
The foot wells, supporting chassis outriggers, wheel arches and bonnet :-
Rust had resulted in the removal of a large proportion of these parts. First I constructed templates of the various parts in cardboard then used them in the flat form to transfer to 1.6mm/1.2mm (16/18G) steel sheet. A note here is to make the templates around the outside shape you desire so that then leaves you with an oversize blank part which you will fret down to size as you fold the various shapes. Where multiple folds were needed I left extra material for clamping and removed excess later. Having no forming equipment all of the shapes were folded around steel/wooden edges with the steel blanks firmly clamped or screwed down to stop any movement before using a hammer to gradually shape the steel. A note here is many light taps is better than a few heavy blows and always try to think the whole part through first, as we all know it is a steep learning curve so enjoy it. Then after cleaning back to clean metal offer up your fabricated part and draw round then cut out all the infected parts from the car. Then fret parts to fit leaving a small gap ready for weld. I treated with rust preventative and sprayed etch primer on parts that would become hidden. I found puddle welding the new flange parts and butt/lap welding all the rest worked well. With the puddle welding I used 6mm holes at 25mm centres in the new parts. This allows you to start the weld at the centre of the hole (original part) and work your way out to pick up the holes outer edge in the replacement part and fill the hole to end up with a dome type weld. Its just a matter of picking and welding various holes around the part and then when you are happy its correctly positioned filling all the other holes and grinding back flat. This will achieve the same strength fixing as the original spot welding procedure. On cosmetic areas use small tacks in various positions on your part before more tacks between each tack until it is fully welded. Where distortion needs to be kept to a minimum cool each tack as you go (I used a damp cloth as no pressure air line was available in my shed). I also added some drain holes where water would collect which the manufacturers seem to have left out. Finally a coat of red oxide, under-seal or etch primer to protect from further damage. All wheel arches and the bonnet required extensive work creating shaped panels and boxes to replace rusting steel and the ton of filler previously removed. Again I have to say a few strategically placed drain holes by the manufactures would have helped reduce the amount of rusting areas. When it came to the door all the rust elements were remove and replaced with steel fabricated parts then steel was treated, red oxide and grey primed. All of the parts of the window glass guides and supporting brackets were remade and a few threaded inserts replaced.
Front footwells

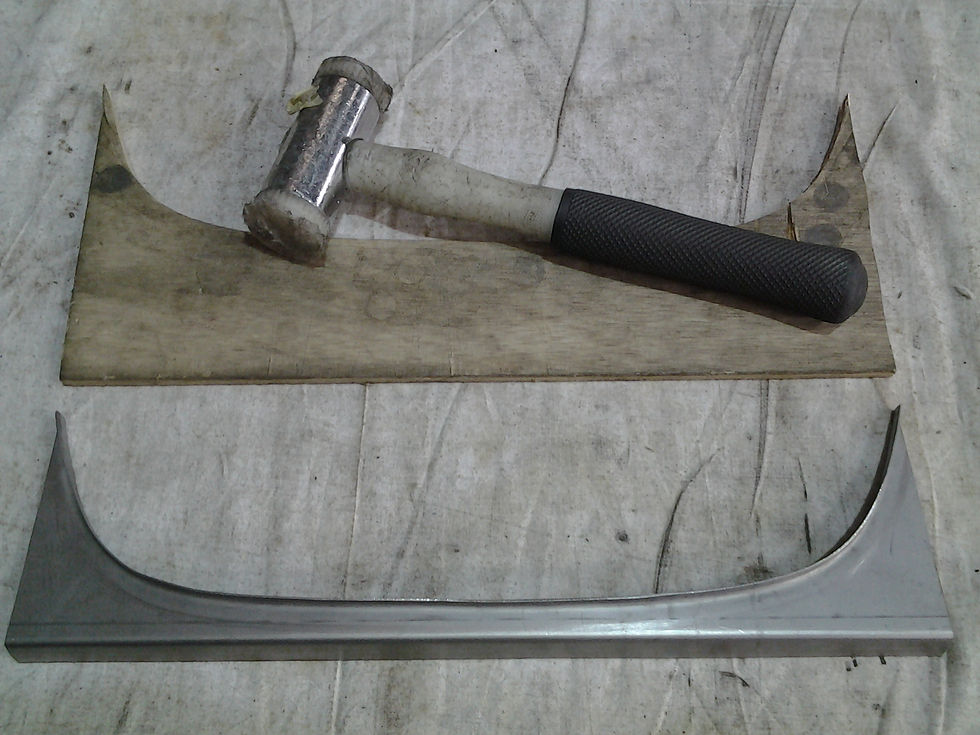
Replacement Parts

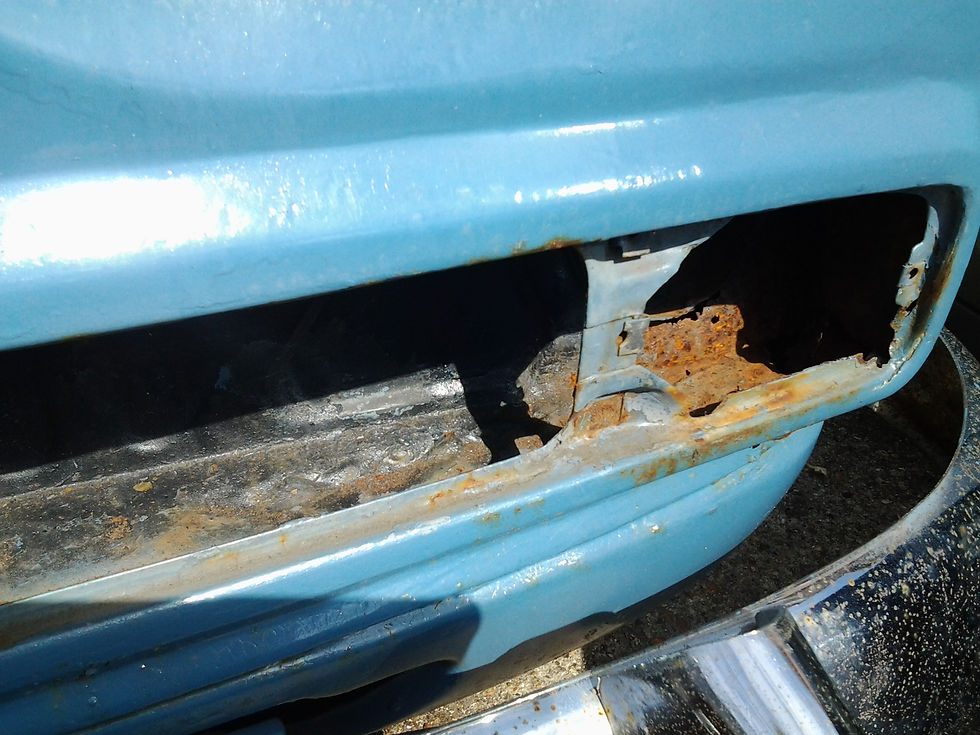
Rust is across the full width of floor pan

Puddle and butt welded where required 16g and red oxide applied

Rust cut out

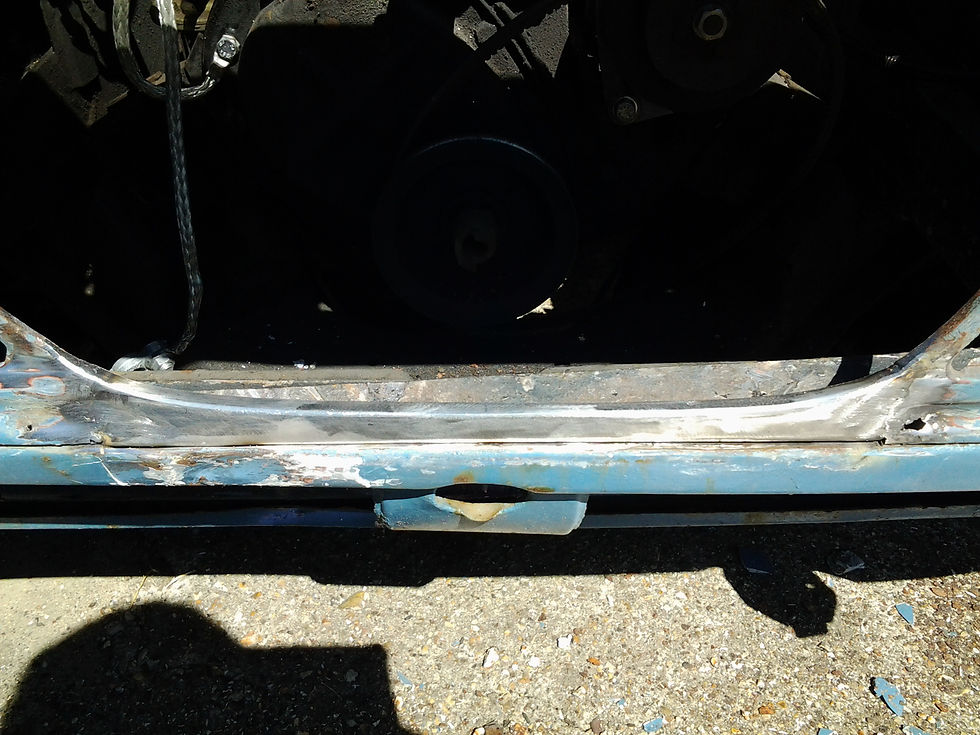
Puddle and butt welded where required and red oxide applied
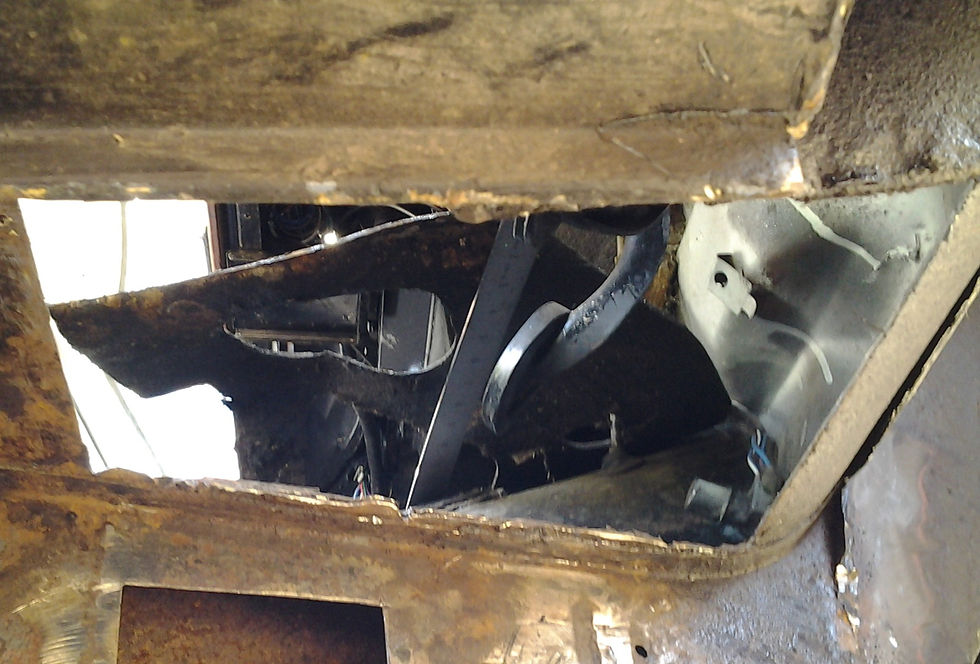
Chassis
I
All the doors
Engine Bonnet
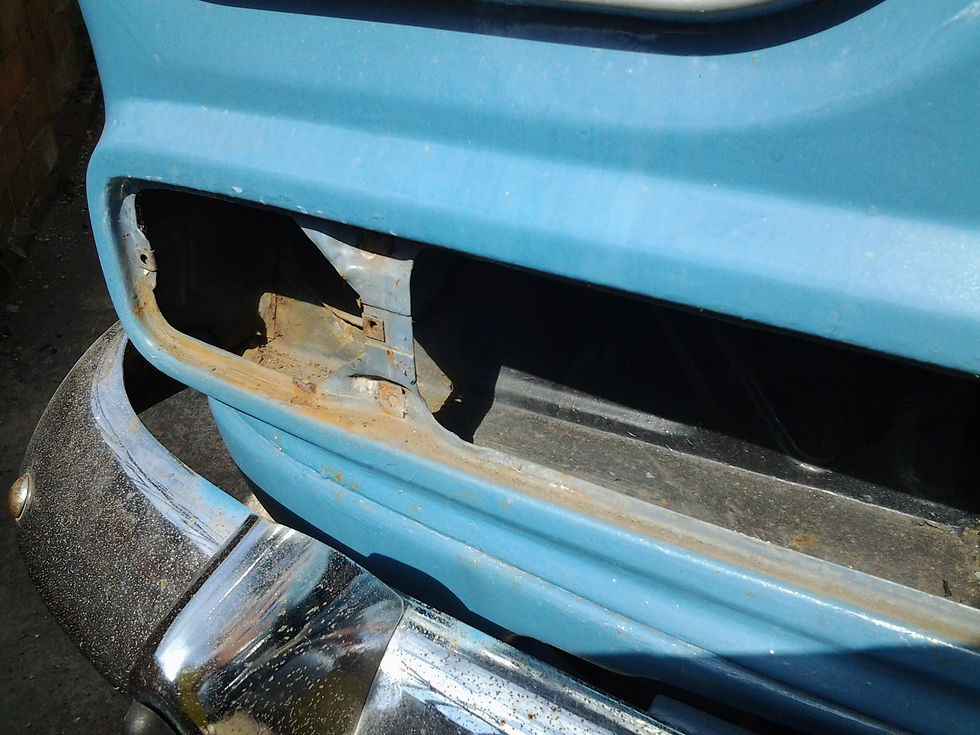
Front Valance


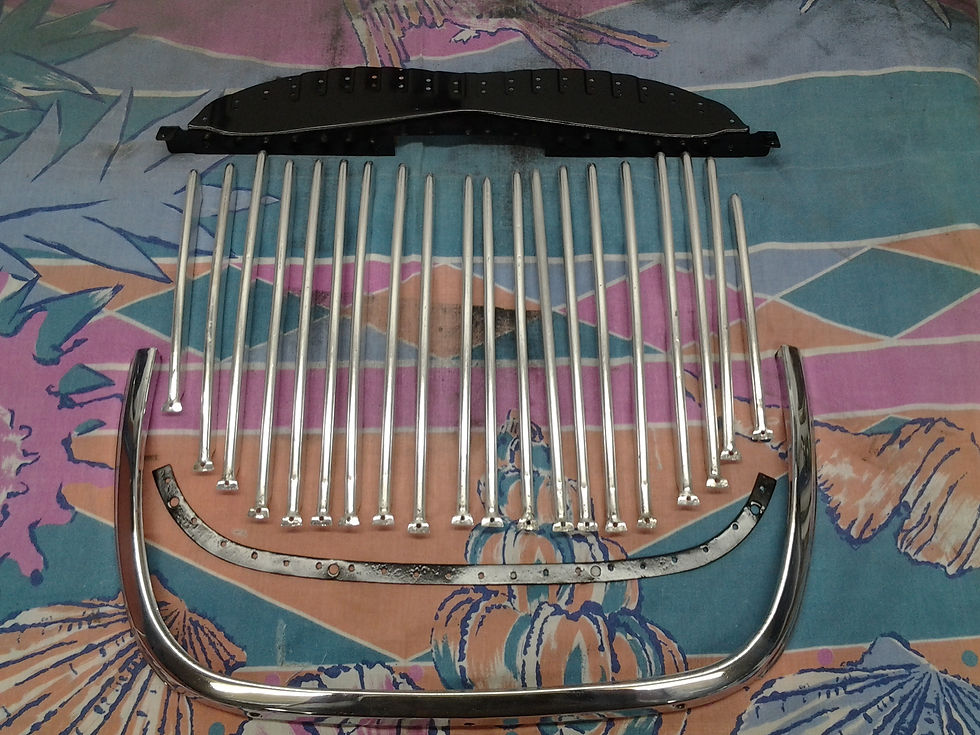
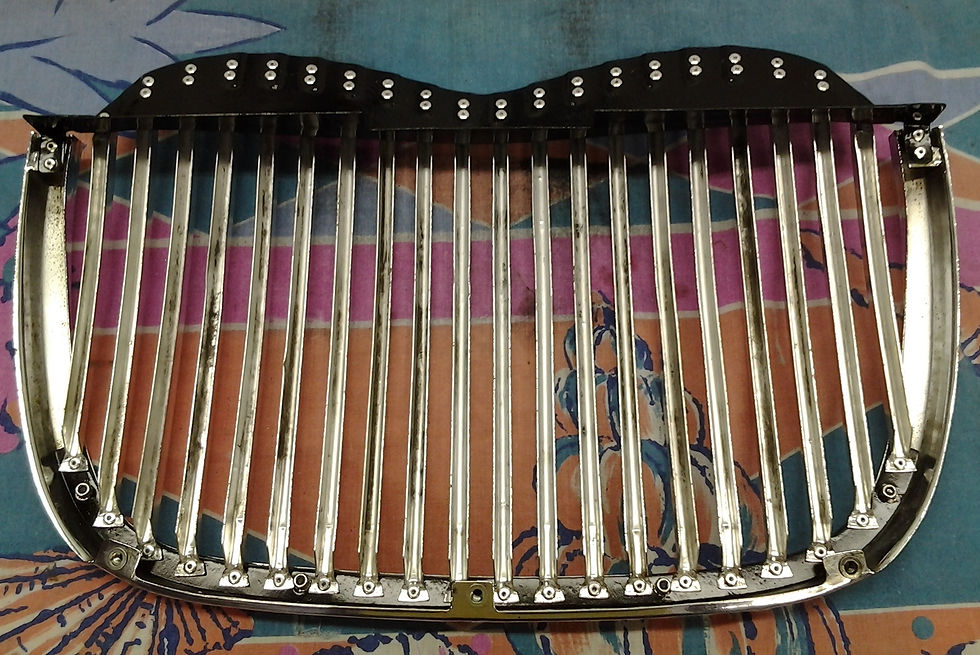
Radiator Grill